euc-field-guide-cost-margin
# Setup Basics
This section covers setting up the cost and margin feature and review the data model beneath the feature.
Initial Setup
Starting point is the official documentation. Follow the steps to configure Cost and Margin.
Enable Cost and Margin
Before enabling Cost and Margin navigate to Vlocity Pricing Designer > Pricing Variables > List View: All.
Notice that there are not Cost / Margin Pricing Variables.
Navigate to Setup > Object Manager > Order Product > Fields & Relationships.
Notice that there are Cost / Margin Fields.
When you Enable Cost and Margin, the Pricing Variables are created that connect CPQ to the relevant fields across xLI and Asset.
This is an important consideration as it helps define the pattern required when adding custom fields (you will need to create the fields and Pricing Variables required). At this stage a hook is required to cover the calculation logic that is proved out of the box for One Time Charge, Monthly Recurring Charges and Usage Pricing.
Enable Cost and Margin Feature as per the docs.
Navigate back to Vlocity Pricing Designer > Pricing Variables > List View: All.
Notice that there are Cost / Margin Pricing Variables now.
Navigate to Vlocity Product Designer > Products > List View: All Products. Open the Boiler Insurance Product and navigate to the Pricing tab.
Define Margin Calculation Type
Navigate to CMT Administration > CPQ Configuration Setup and earch for an entry: MarginCalculationType.
Set this to ‘margin’ if you want margin to be calculated. Set it to ‘markup’ if you want markup to be calculated.

Create a Price List Entry under Costs by click on New Cost.
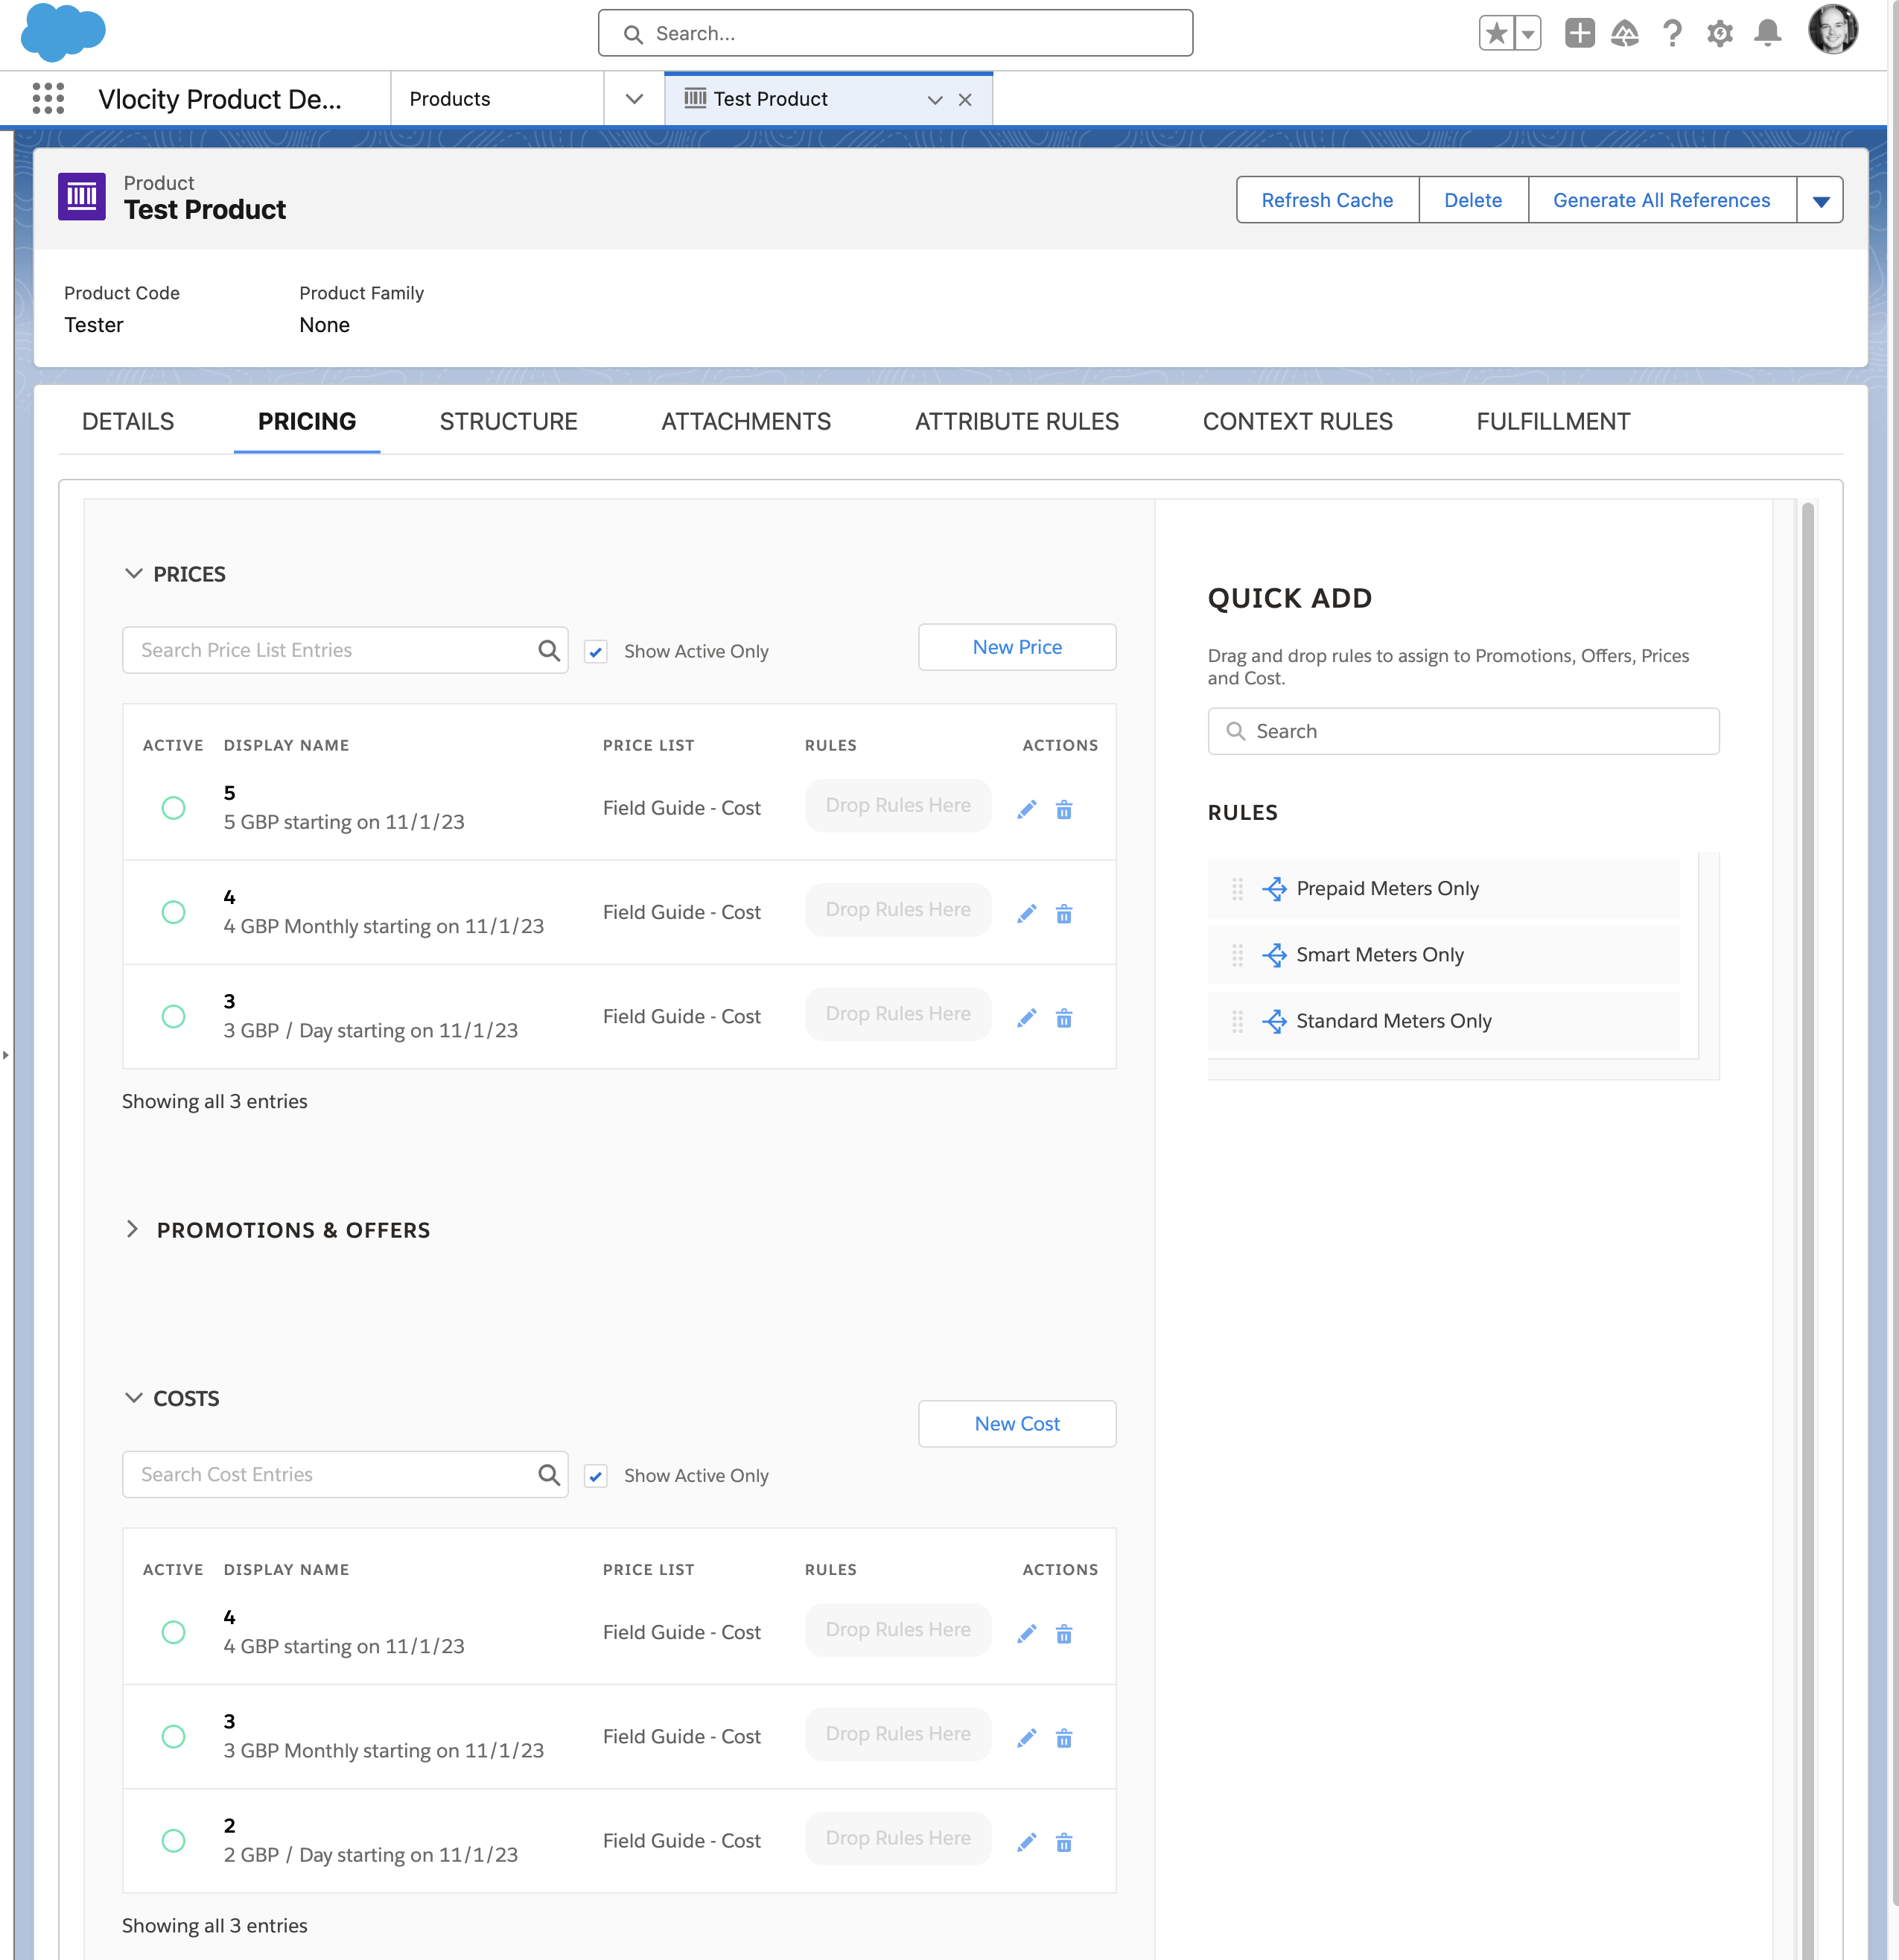
- Price List: This should be the same list price as the Price defined for your product. If you have multiple price lists and for a single products
- Display Name: Required but used in any UI components. Usually set to the same value as the Amount.
- Virtual Price: Not used in Costs. In the UI by default based on being used for Prices in the old Angular Cart.
- Type: Cannot change in UI
- Amount: Cost amount. Costs are expected to be immutable so there once costs are defined as PLE or through ABP there are no options to make adjustments in the UI.
- Currency: Should be the same as the price.
- Recurring Frequency: Should be the same as the corresponding price.
- Start Date: Point from which cost is valid.
- End Date: Popint at which cost is no longer value (can be NULL).
Notes on Cost PLEs:
If using PLEs for costs they are considered fixed. If you need some dynamic logic in how costs are calculated you should use ABP to build up the cost dynamically (for example, based on attribute values). This topic is covered in calculating costs using matrices.
LWC Cart
Navigate to Industries CPQ > Orders > List View: All Orders
Click on New
Account Name: Billy Bing (preloaded account from Express orgs) Status: Draft (default value is fine) Order Start Date: Current date
Once the order is created and the LWC Cart Order page renders select a Price List (Default Price List).
Add Boiler Insurance to the Cart. Navigate to the Cart tab.
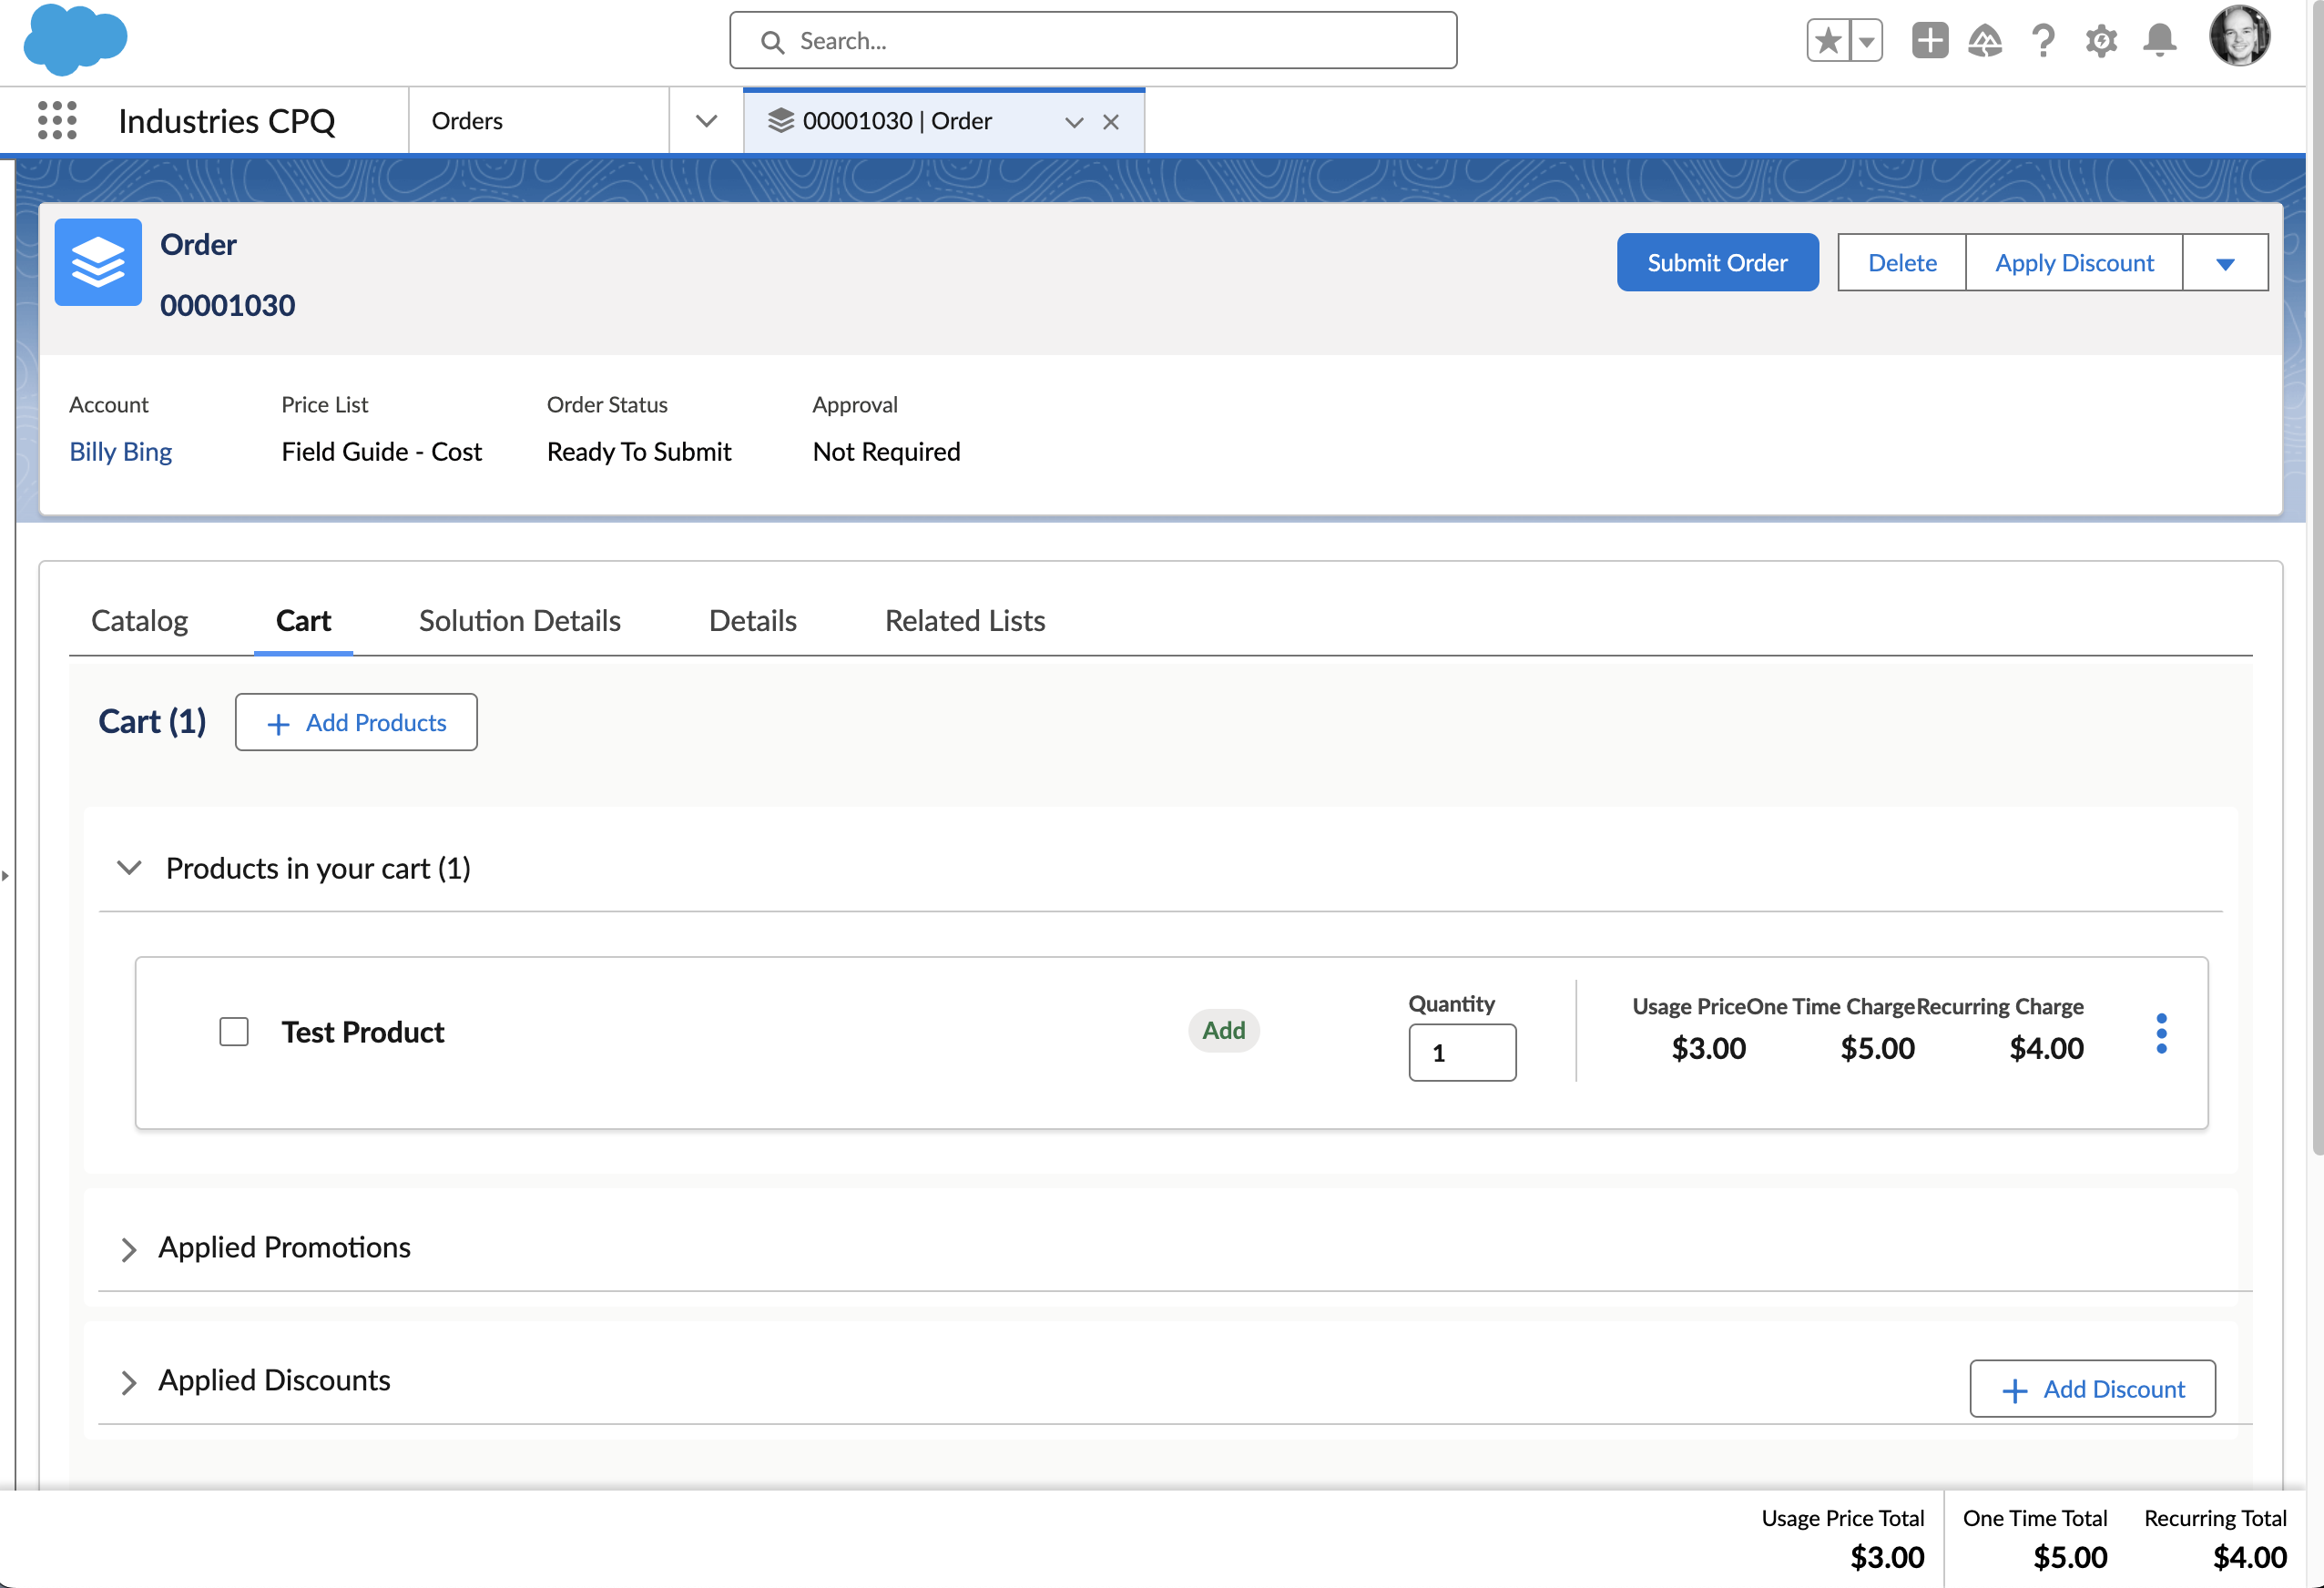
Click on the Action drop down for the line item and select Configure.
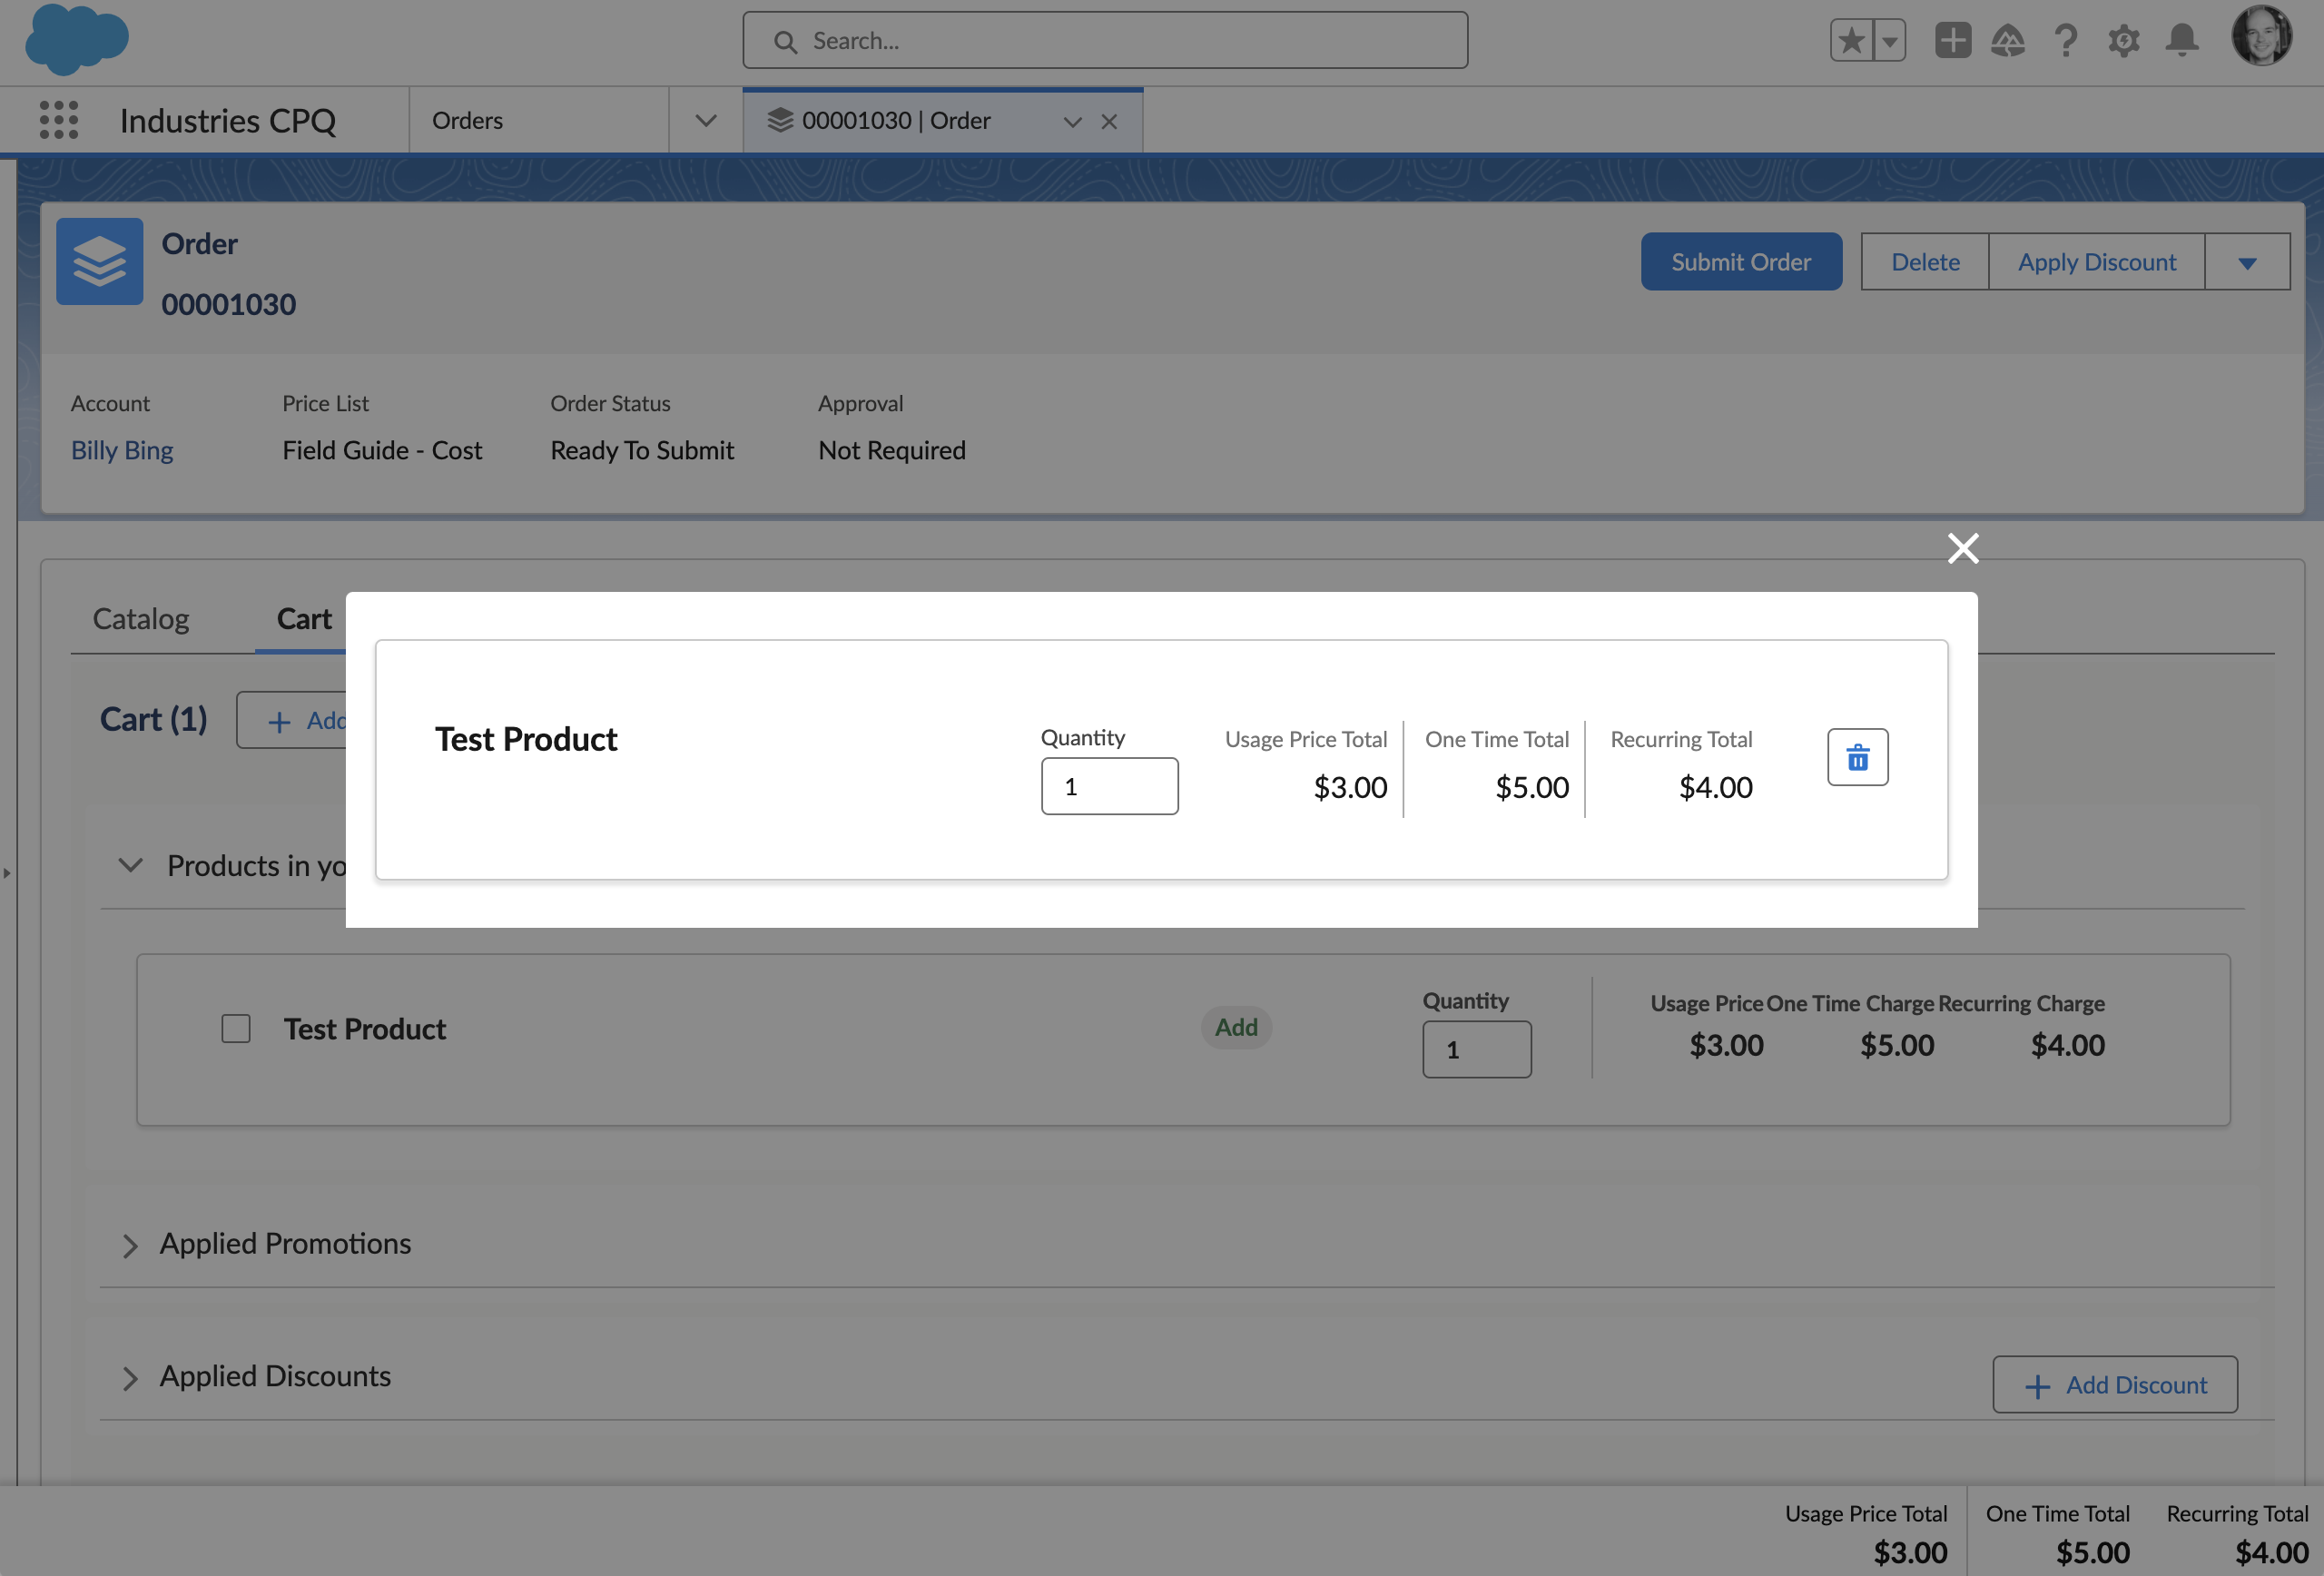
Notice that by default there is nothing new / difference in the LWC Cart. If your use case requires showing cost / margin data in the UI you will need to modify LWC cart accordingly.
Cost & Margin Fields
Naviate to Related Lists tab and click on the Boiler Insurance Order Product record. The fields we want to look at are not on the page layout, let’s add them.
For the purposes of illustration let’s add all cost and margin fields under it’s own sections (one each for one time charges, monthly recurring charges and usage pricing). This will be useful in the subsequent sections.
Update the Page Layout as per screenshot (or pull if the SFDX Metadata in this repo).
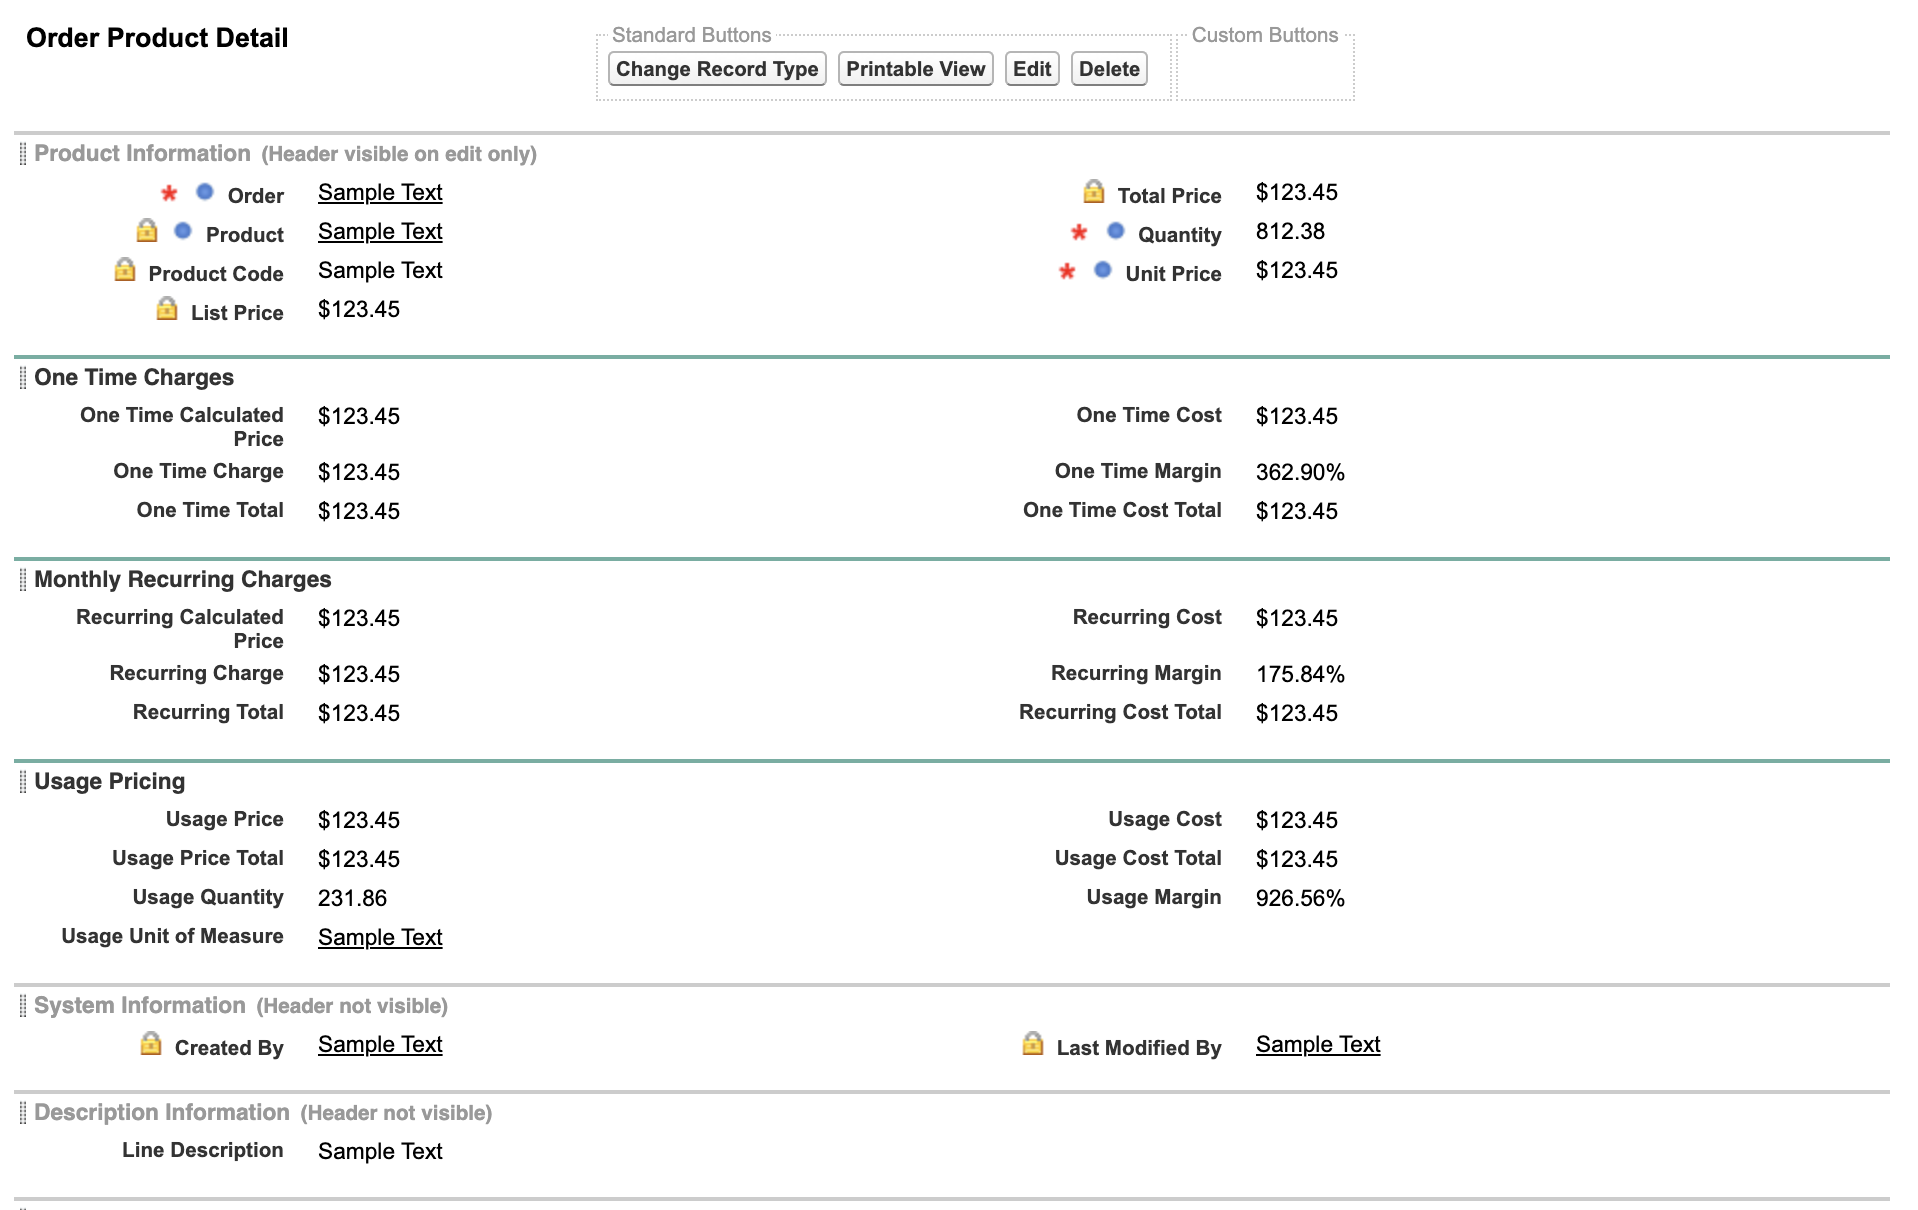
Refresh the Order Product page.
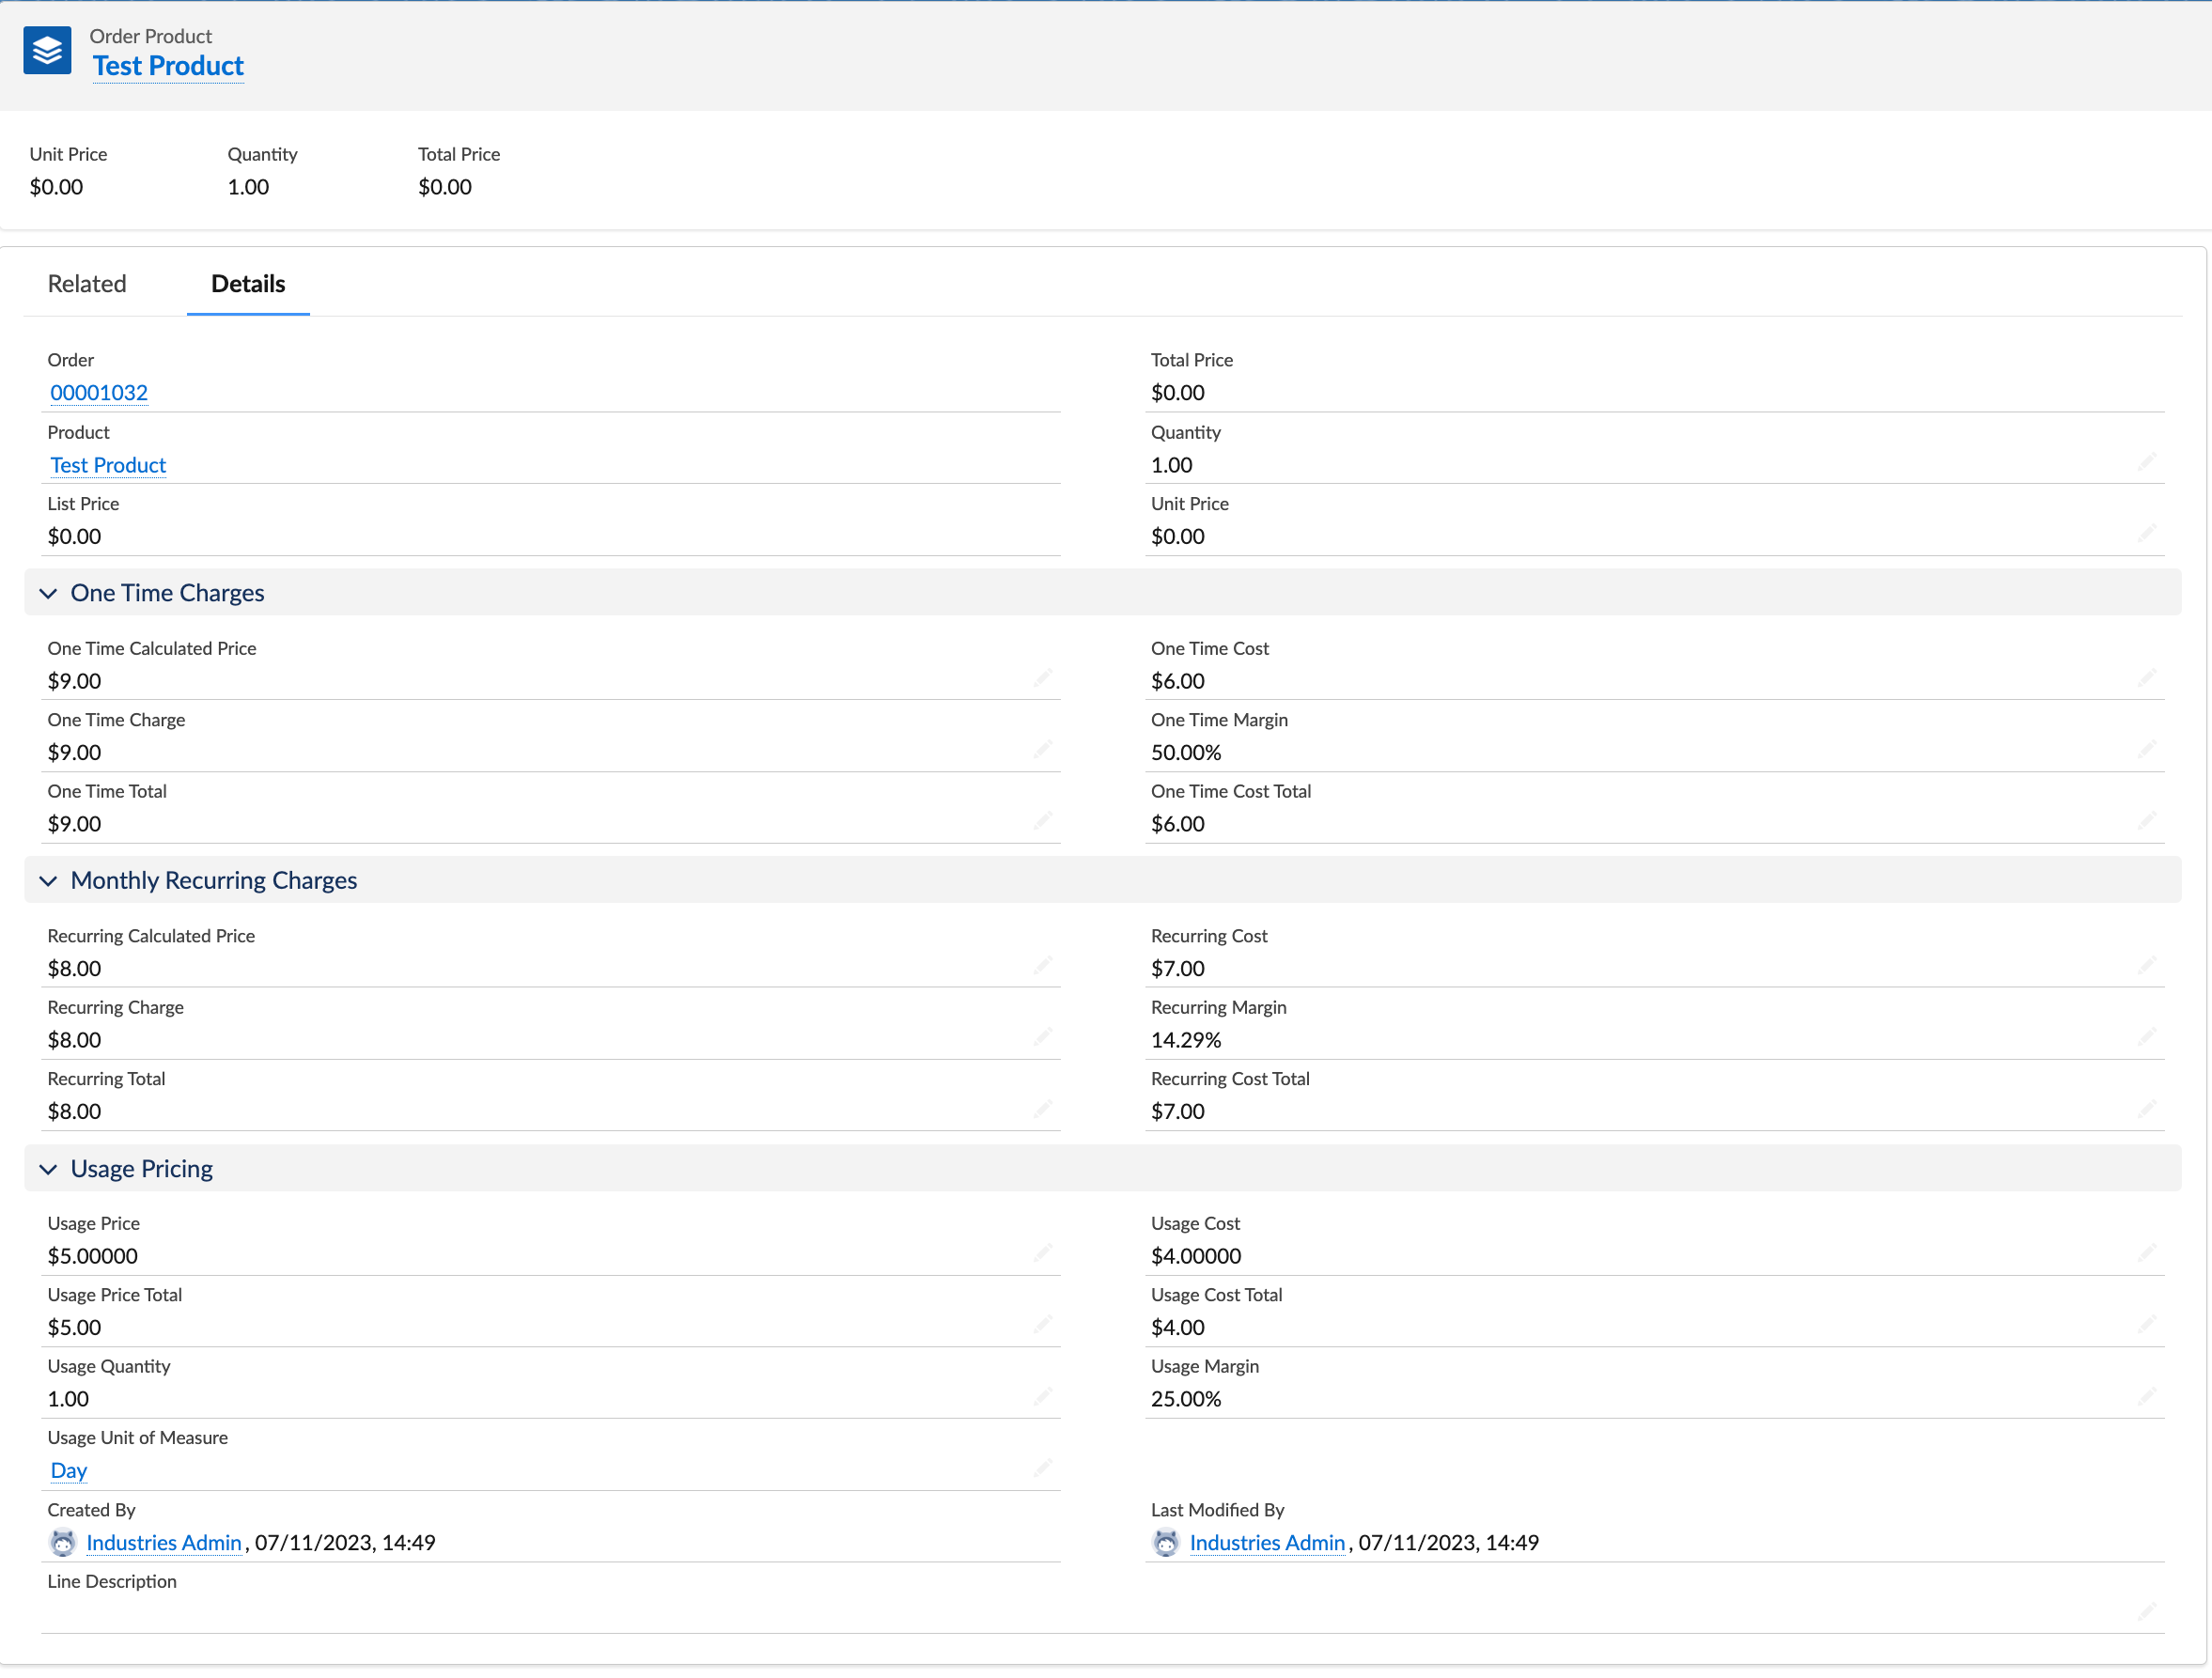
Now let’s look at the Order header. Click on the Details tab. The fields we want to view are not here either, let’s add them.
Update the ‘Order Layout’ Page Layout as per screenshot (or pull if the SFDX Metadata in this repo). We will use a section called ‘CPQ Rollups’.
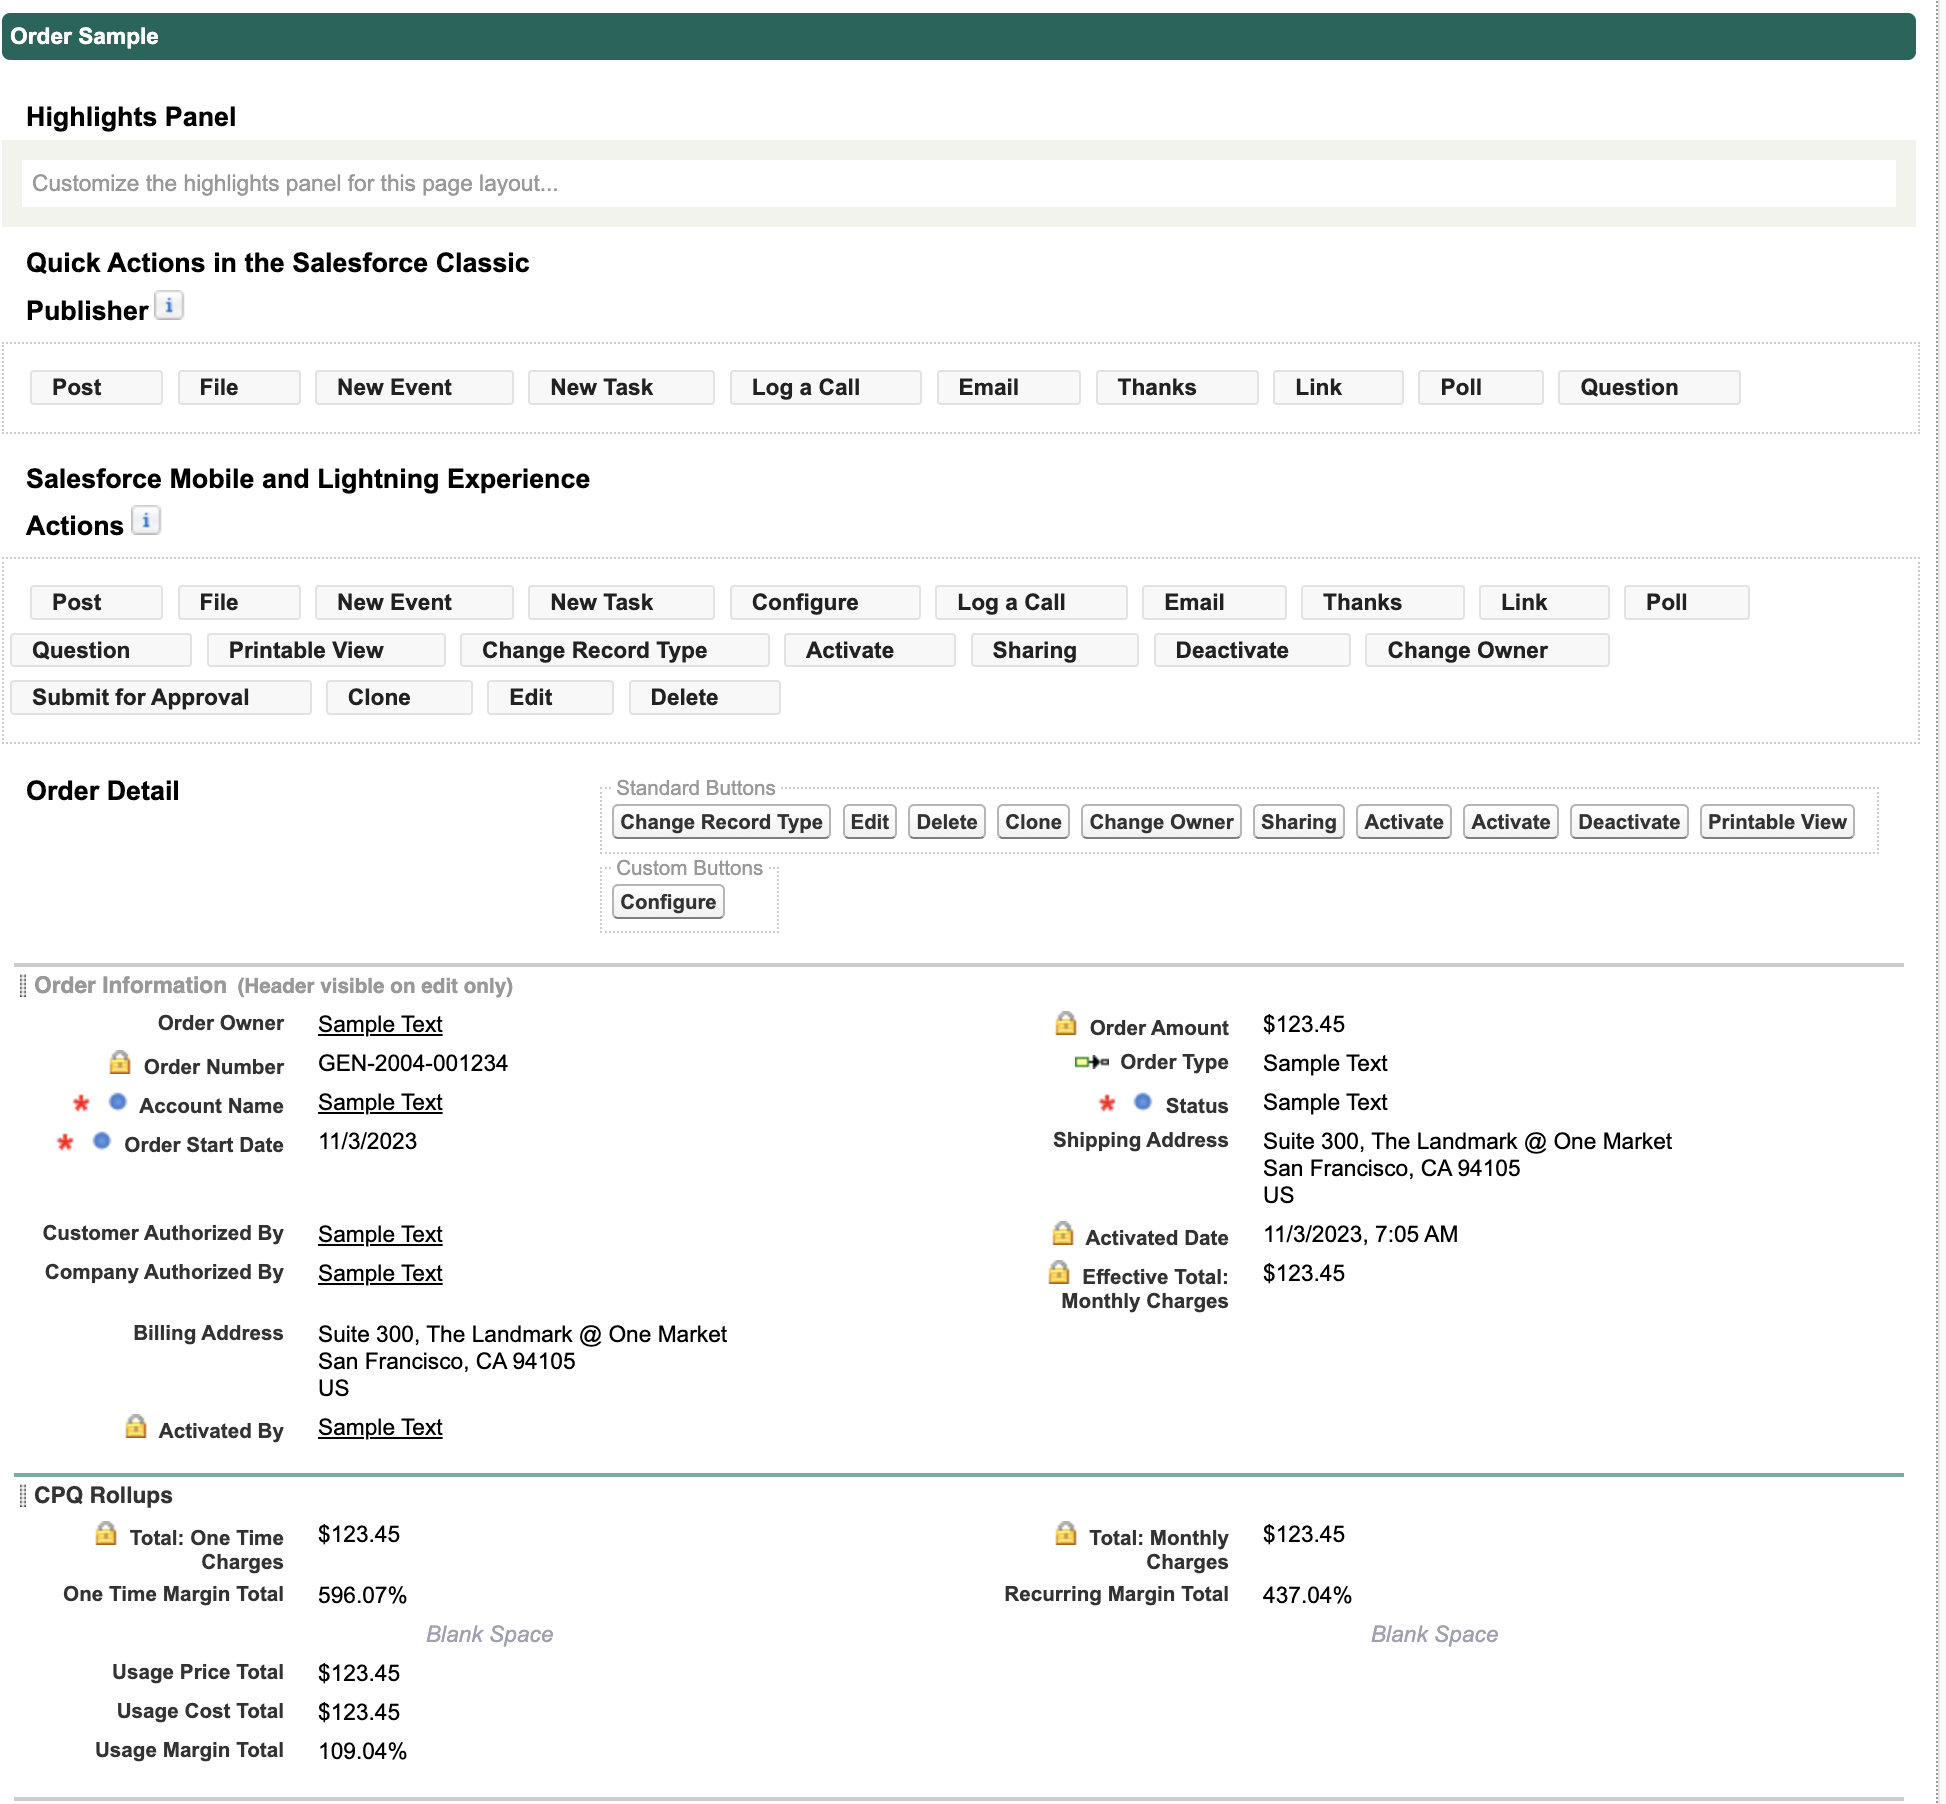
Notice that there are rollups at the header level for One Time Charges, Recurring Charges and Usage Pricing. If you are adding custom fields you will need to create header fields as well.
